Introduction:
With your data now ingesting into Log Analytics, granted the collectors not yet deployed, we are ready to begin setting up our workbooks to further confirm data is coming in properly. Now done with deploying your Admin Inventory and Device Inventory workbook, let’s knock out the final one – Application Inventory.
Note: It would be a good idea to have at least a few devices manually ingest some data before starting this process.
In this section, we will cover…
- Requirements
- Downloading the Workbook
- Importing the .Workbook File
- Modifying the Queries & Office 365 Page
- Controlling the Patch my PC App List
- Conclusion
Requirements:
This should be pretty obvious, but you need to have completed the setup article covering the setup and initial data ingestion, as well as gotten data to successfully show inside the tables (step 6). If you haven’t gotten that far, you’re not going to be able to see anything in the workbooks and that’s an issue.
Downloading the Workbook:
The App Inventory.workbook file is on my GitHub here. Just hit the little download arrow near the top right.
Importing the .Workbook File:
Once again – we really don’t need to do anything to this file before importing it. So, lets get it imported.
You will need to go to Workbooks on the left, and then choose the Empty option.

Then, look for the </> icon along the top and click it.

This will open the JSON view for the workbook. You need to CTR+A and simply delete the default content present.
Then, copy paste in the full content of the .Workbook file you just downloaded (just open it with any text editor). Once pasted in, hit Apply.

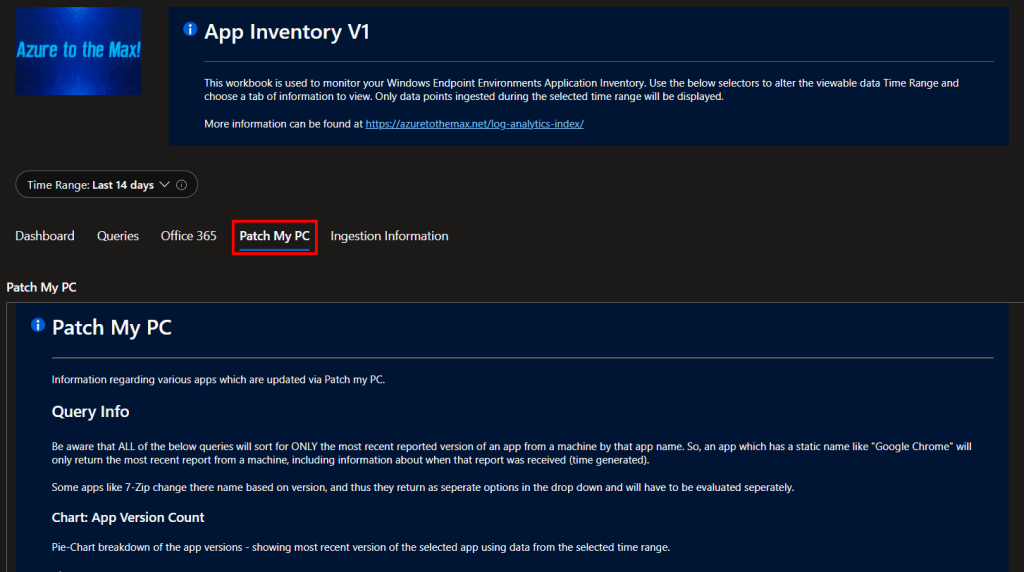
This should kick you out to the main page of the workbook shown below. Assuming your test ingestions were done in the past 30 days, you should have some data showing although, it might not look like much yet.
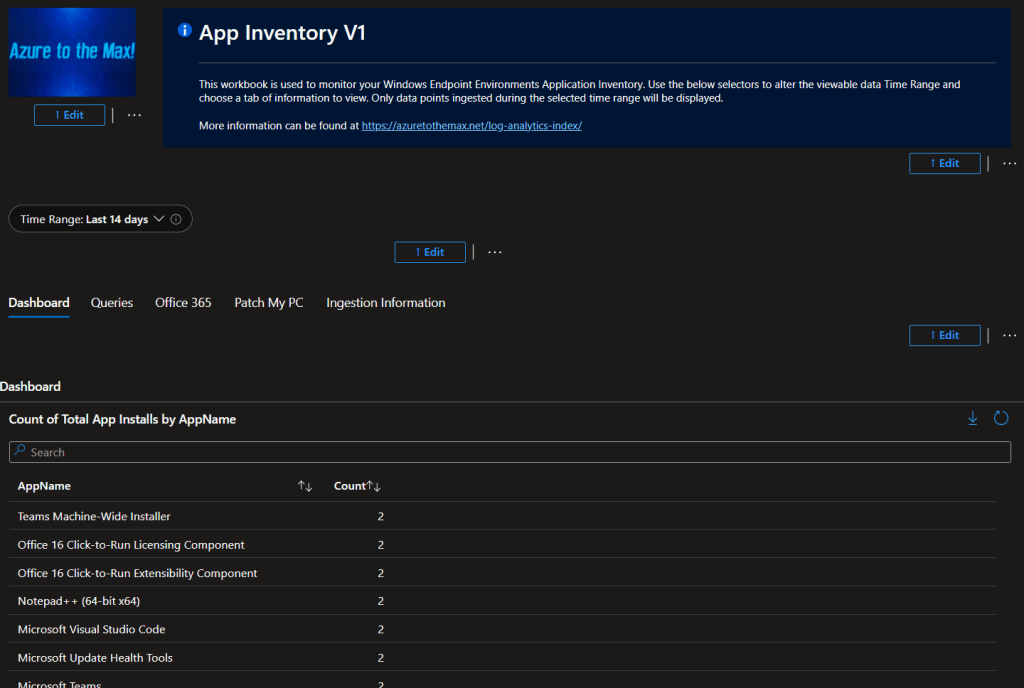
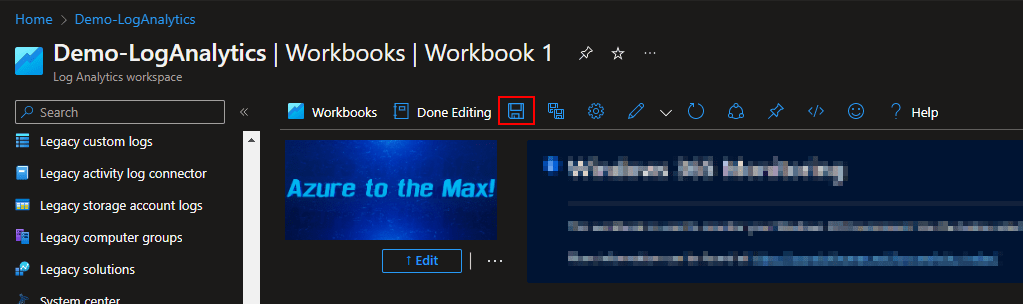
Go ahead and look at and play around with the data showing on the various tabs (the “Dashboard”, “Queries”, etc, buttons right under the time range, just under my logo). If for the most part it looks to be functional, look for the save icon (floppy disk) at the top. You will be prompted to name the workbook as part of saving it.
Note: Some queries won’t return any results due to the default fake names typed in. That’s normal and something I will circle back to.
Once you hit Apply on the save menu, your workbook will think for a moment and then the new name will take the place of Workbook 1 at the top. You can then back out to the workbooks view and (after a few minutes) your new workbook will appear in the workbooks view. The caching for these is weird, it may not show up right away, give it time.
Modifying the Queries Page:
This time there is more than one thing I suggest you change, but they are all relatively simple. The first item is just like the last workbook.
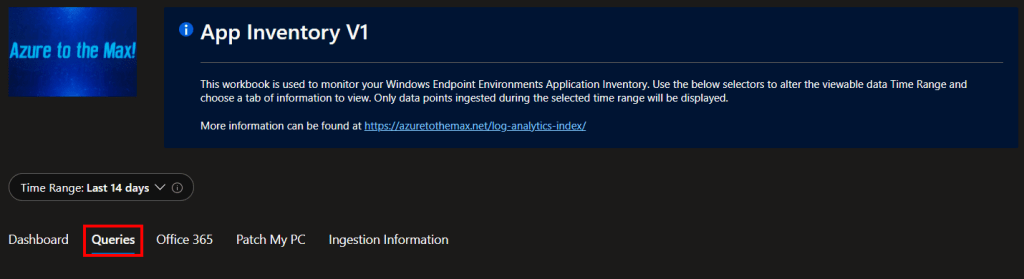
Change over to the queries.
And scroll way down the page until you reach the device section.

By default I used the name “Device Name” which obviously doesn’t exist so all these queries return no data. I would again suggest you type in something, anything that actually returns a result, and then hit the workbook save button again. This will make it such that whatever value you typed in will be the default value whenever someone first opens the workbook going forward. That way, these actually look functional rather than broken.
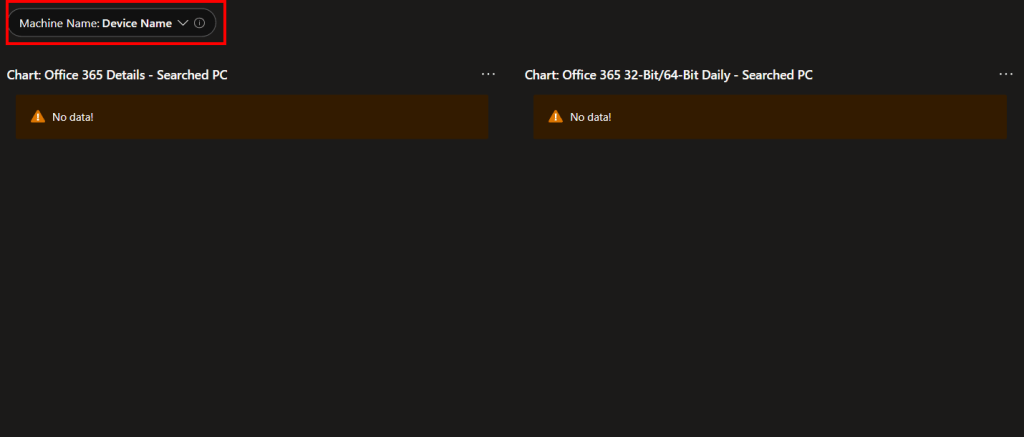
Additionally, you will find something very similar on the Office 365 tab.
There are a couple of quires (shown below) built specifically for monitoring a given device regarding the nature of it’s Office (32 or 64-bit). You might not have any devices running 32-Bit office, the “List: Office 365 32-Bit Devices” query just above this one helps you answer just that question, but if possible I would type a real device name in here to hopefully make this section look functional instead of having strange warnings by default.
Controlling the Patch my PC App List:
Being the final workbook in this series, it just had to have something slightly complicated for me to write about, didn’t it?
I need to give some background here. There is a Patch my PC page built to monitor your Patch my PC apps. Unfortunately, as I mentioned in the overview series, the endpoints themselves have no idea what app is and is not from Patch my PC. So, we can’t ingest a data point that tells us that. Instead, we have to tell Log Analytics what apps are and are not from Patch my PC manually. This is done via a query that then controls the output of a drop down selector. As such, you have to manually edit that query and add the names of all your apps that your Patch my PC is doing – granted you don’t have to be exact. I can better explain what I mean by that if I show you.
Change to the Patch my PC tab.
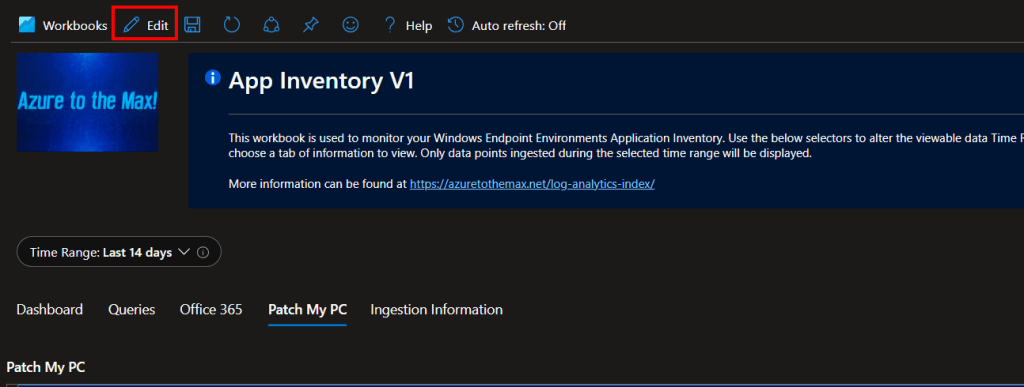
Change into edit mode.
You need to find the edit button for this “page group” – it’s way down at the bottom.

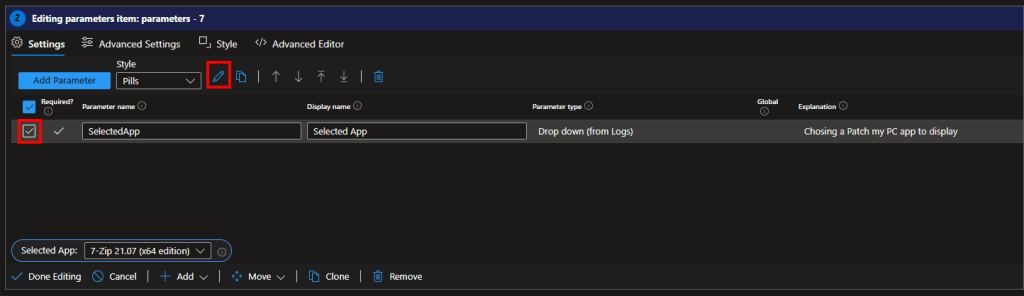
Now everything in the group has an edit button. The only one we care about is the one controlling the drop down. Go ahead and click that edit button.

You then need to check the box and hit the pencil to edit this paramter.
This page is now very busy.
1 – This is the query itself that creates the results.
2 – These are the results the query is returning, and thus the options you will get in your drop down menu.
3 – That is the save button for this parameter. When your done editing this query, you need to save the parameter settings by hitting that button.
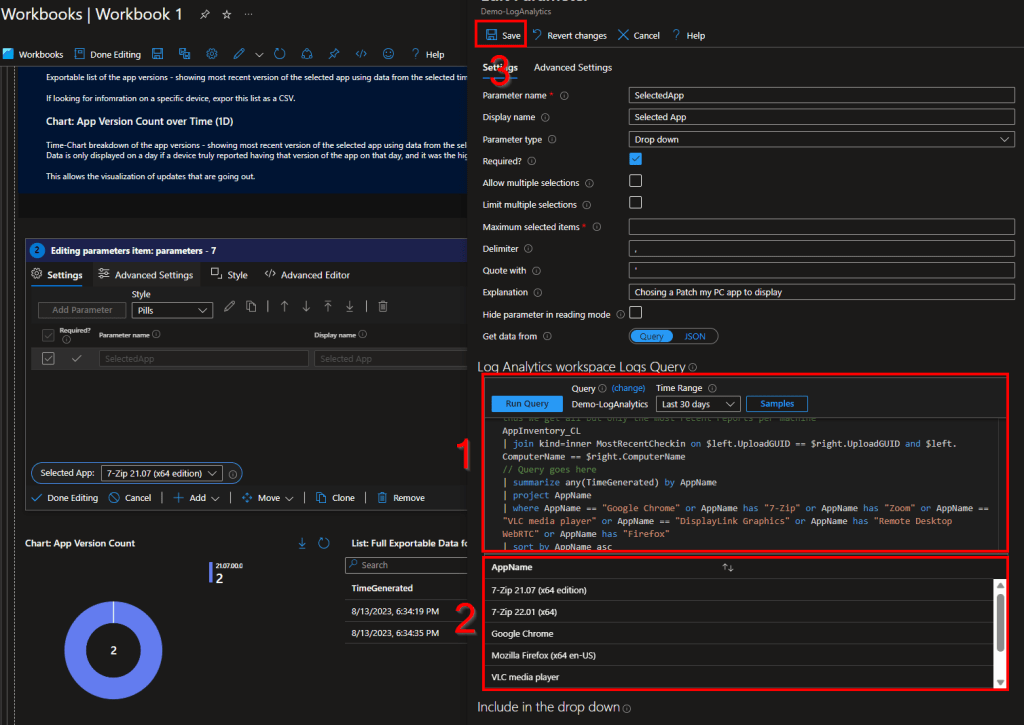
Let’s talk about the query itself. The only part you should be touching is this long section seen below.
| where AppName == "Google Chrome" or AppName has "7-Zip" or AppName has "Zoom" or AppName == "VLC media player" or AppName == "DisplayLink Graphics" or AppName has "Remote Desktop WebRTC" or AppName has "Firefox"This section makes the only returning results where AppName has X, or equals exactly Y, etc. What you need to do is extend this “or AppName has X” / “or AppName == Y” – and so on – out for however many apps you need to show in this drop down, up to 250.
A tangent on App Names that change:
Someone might be wondering why I don’t just use a JSON list like I did in my W365 monitoring’s region selector. Well, this is why.
The reason I often use “has” instead of just == (for a perfect match) is for apps like 7-Zip that change their name per version. In the case of 7-Zip, it also notates 32/64-bit in the name. By using has, we capture any app that has 7-zip in the name. The downside to that issue (apps which change name per version) is that the queries on that page are only going to return results for the one exact chosen name from the drop down. For example, just that one version of 7-zip. When the goal is to view how that app is or is not patching, seeing only one version at a time doesn’t work well. That’s where we somewhat have to back on the main queries page as searching for “7-zip” there will cause the queries to pull anything any everything with a partially matching name – and thus one search shows results and breakdowns for all versions of 7-Zip out there at once.
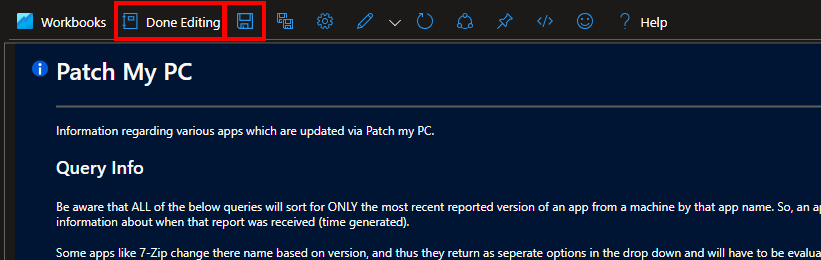
Again, when you are done editing the query as needed, you need to save the parameter (see 3 in prior pic), then hit Done Editing at the top and Save the workbook.
Conclusion:
You should now have your application inventory workbook up and running as well. Feel free to explore around it. Information on what all these queries are is in the original opening articles covering what the collector collects. Additionally, most every query has an info panel in the workbook itself to explain what it does as well.
Somehow we are now through all the workbooks. The only topic I have left planned is to cover deployment via PR, and that’s quite trivial to.
The Next Steps:
See the index page for all new updates!
Log Analytics Index – Getting the Most Out of Azure (azuretothemax.net)
I will be putting the Windows Endpoint guides on the Log Analytics Index page under the Win365 series.
Disclaimer:
The following is the disclaimer that applies to all scripts, functions, one-liners, setup examples, documentation, etc. This disclaimer supersedes any disclaimer included in any script, function, one-liner, article, post, etc.
You running this script/function or following the setup example(s) means you will not blame the author(s) if this breaks your stuff. This script/function/setup-example is provided AS IS without warranty of any kind. Author(s) disclaim all implied warranties including, without limitation, any implied warranties of merchantability or of fitness for a particular purpose. The entire risk arising out of the use or performance of the sample scripts and documentation remains with you. In no event shall author(s) be held liable for any damages whatsoever (including, without limitation, damages for loss of business profits, business interruption, loss of business information, or other pecuniary loss) arising out of the use of or inability to use the script or documentation. Neither this script/function/example/documentation, nor any part of it other than those parts that are explicitly copied from others, may be republished without author(s) express written permission. Author(s) retain the right to alter this disclaimer at any time.
It is entirely up to you and/or your business to understand and evaluate the full direct and indirect consequences of using one of these examples or following this documentation.
The latest version of this disclaimer can be found at: https://azuretothemax.net/disclaimer/
